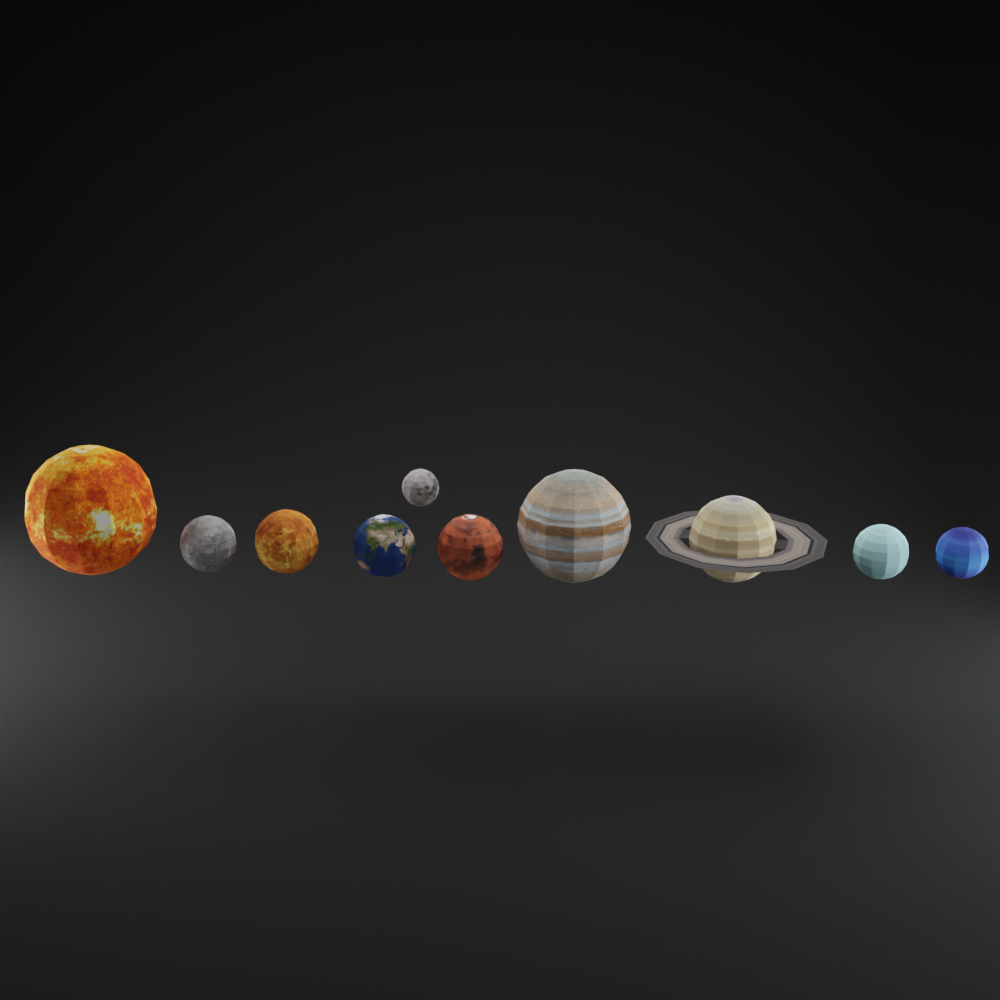
🌍 Explore the Universe with a Fun Solar System Papercraft!
Bring the wonders of space right to your desk with our 3D Solar System Planets DIY Model Papercraft Template. Perfect


Bring the wonders of space right to your desk with our 3D Solar System Planets DIY Model Papercraft Template. Perfect
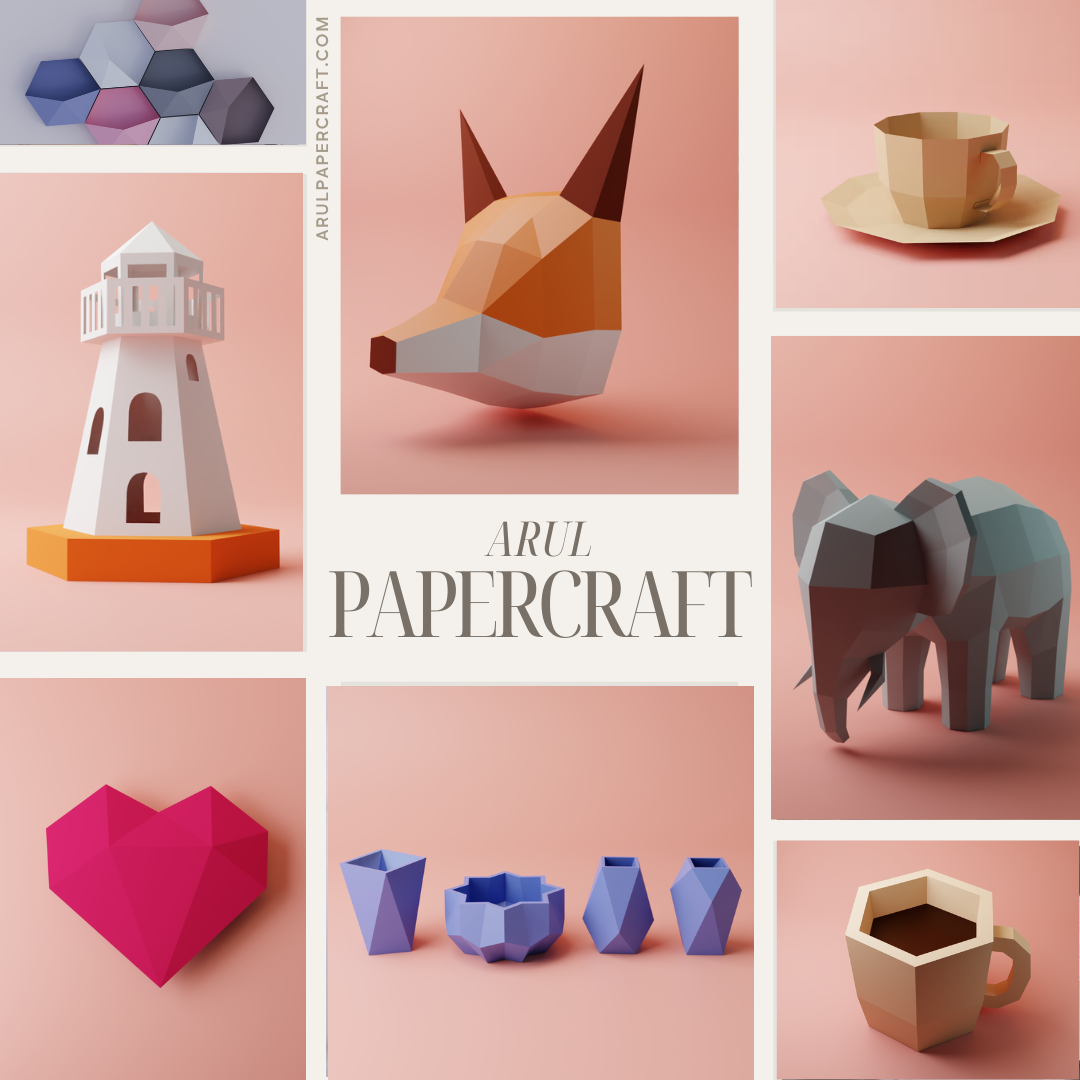
Discover 5 stunning low-poly papercraft models to decorate your home. From festive snowmen to elegant teacups and planets, these